From Andina (Peru), March 22, 2021: Read more about the participation of Peruvian engineer Juan Vega from the Directorate of Astronomy and Space Sciences (DIACE) of the Peruvian Space Agency in the development of the Deep Underground Neutrino Experiment managed by Fermilab.
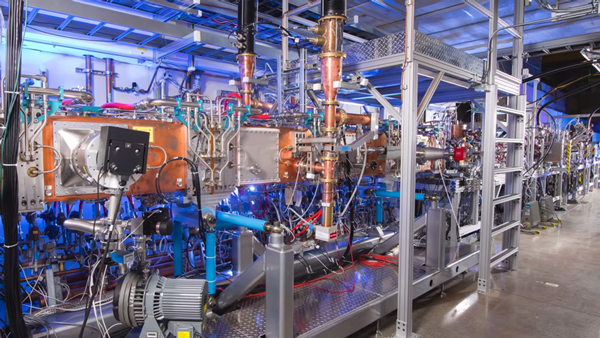
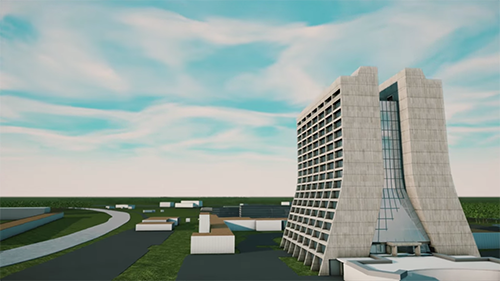
Fermilab is America's particle physics and accelerator laboratory
We bring the world together to solve the mysteries of matter, energy, space and time.